Before You Print a Prototype: How to Cut Rules, Components, and Cost From Your Board Game
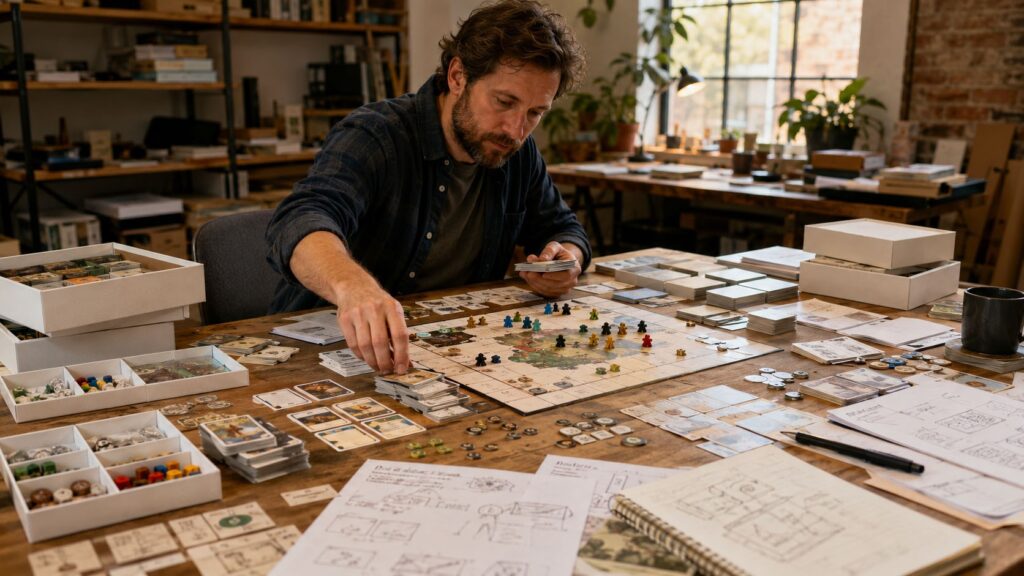
For many board game designers it takes 12-18 months to build a game before they feel ready to print a physical prototype.
Then the quote arrives.
The problem is not always that the factory is expensive. Sometimes the game is simply too heavy for its current stage.
This is the Prototype Phase 1 Trap.
The designer thinks the game is missing a printed prototype. From a manufacturing side, we often see a different problem: the system has not been reduced enough to deserve a paid sample yet.
A printed board game prototype should not be used to rescue an overloaded design. It should be used to test a core structure that has already started to stabilize.
This article is part of our 2026 series: Board Game Prototyping Problems Creators Face in 2026.
The series looks at the problems independent creators meet before mass production: lost prototype options, overcomplicated designs before the first paid prototype, small-batch pricing, printing defects, dark artwork risks, and AI-generated files that still need factory cleanup before they can be produced.
The Prototype Phase 1 Trap
A paid printed prototype feels like progress.
That is why it is dangerous.
Once cards, boards, punchboards, boxes, inserts, and rulebooks become physical, the design starts to feel more finished than it really is. The box gives the project weight. The artwork makes the system look more convincing. The component count starts to feel justified because now it exists on a table.
But physical presence does not mean design stability.
If the rules are still moving, if the card count changes after every playtest, if token types keep expanding, or if the rulebook needs a new exception every time a problem appears, the game is not ready for a factory-style prototype.
It is still asking design questions.
A factory sample is better at answering production questions:
Those questions are useful only after the game structure is close enough to final.
If you use a printed prototype to discover that the game has too many phases, too much upkeep, or too many component types, the sample has done a job that paper cards and blind playtests could have done much cheaper.
That is not a production failure. It is a timing failure.
This connects directly with the prototype route problem we discussed in After Print & Play Closed: Where Should Board Game Designers Make Prototypes?. Before choosing where to print, first decide whether the design is actually ready to be printed.
Start With the Core Loop, Not the Full Component List
Many designers prepare for a prototype quote by asking the wrong first question:
“How many cards, tokens, tiles, boards, and pieces do I need?”
That sounds practical, but it comes too early.
The first question should be:
What meaningful decision does the player make each turn?
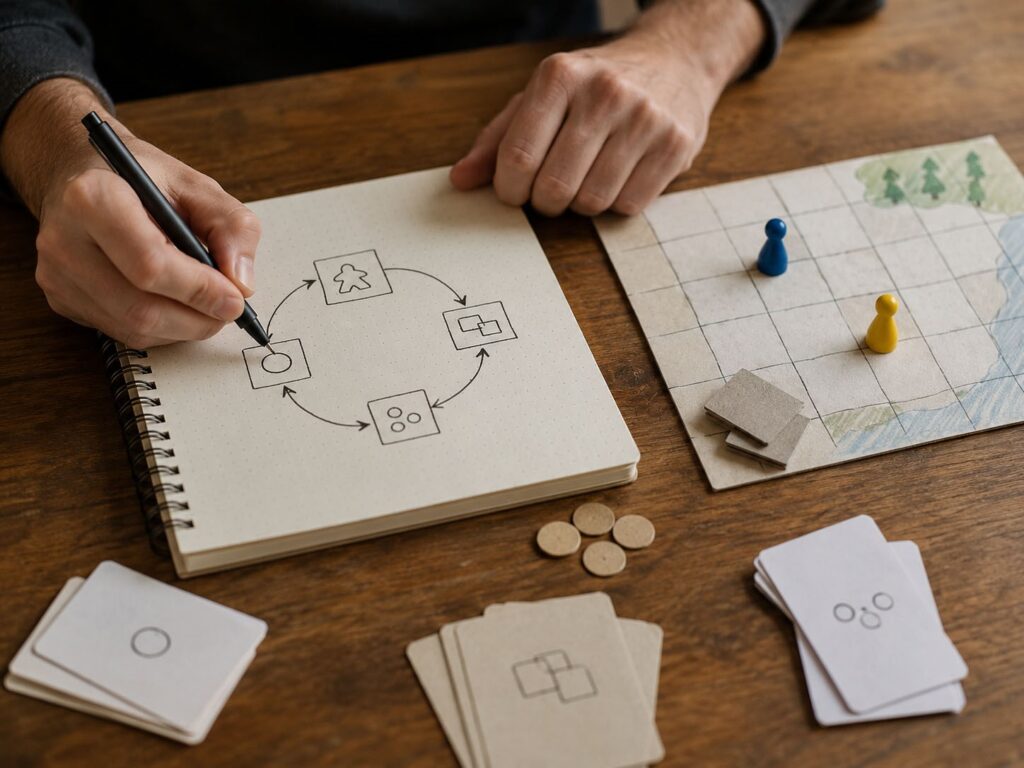
Not every action is a meaningful decision. Some actions are only maintenance. Some are bookkeeping. Some exist because the designer wanted the system to feel deeper. Some were added to fix an earlier problem that no longer exists.
From a manufacturing perspective, the full component list should come after the core loop has proven itself.
A core loop does not need every character, every event card, every map tile, every optional mode, or every stretch-goal idea. It needs to show the repeated decision pattern that makes the game worth playing.
For example:
If that loop is weak, more components will not save it.
This is where many prototype costs start going wrong. Designers add content before the loop is strong enough. Then the first paid sample becomes large, slow, and expensive, but it is still testing basic playability.
That order is backwards.
Lock the core loop first.
Then decide what components are needed to support it.
Do not let the component list pretend the game is more finished than it is.
Define Your Complexity Budget Before Adding More Parts
Complexity is not automatically bad.
A family game, a light strategy game, a heavy Euro-style game, and a campaign game can all carry different amounts of rules, components, and player overhead. The problem is not that a game has many parts. The problem is when the complexity does not match the target player, play time, price point, or production stage.
That is why every prototype needs a complexity budget.
This does not have to be a formal spreadsheet. It is a design-stage constraint:
How much can the game ask the player to remember, manage, teach, and physically handle before the experience starts to lose value?
A 25-minute family game can’t have the same maintenance load as a 150-minute campaign game. A casual party game cannot ask players to manage six token types unless the payoff is immediate. A heavy strategy game can support more rules, but even there, every exception has to earn its space.
Manufacturing sees this problem through components.
Every extra token type becomes one more thing to produce, count, pack, and check. Every extra deck becomes another print file, another stack height, another packing position. Every extra board layer affects box depth and carton efficiency. Every extra rulebook page adds weight, thickness, and translation risk later.
The player feels complexity at the table.
The factory sees complexity in the bill of materials.
Both are connected.
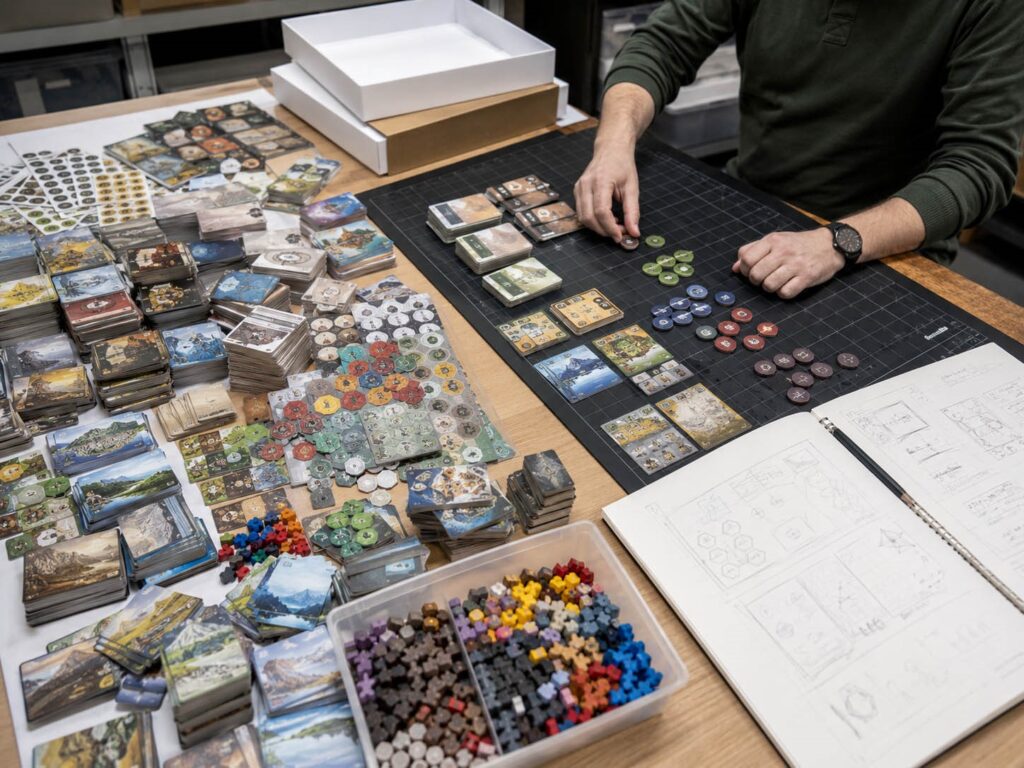
This is where engineering subtraction should happen.
Engineering subtraction is not cutting things only to make the game cheaper. Cheap is not the goal. Controlled is the goal.
So the question is:
Which rules, components, phases, exceptions, content blocks are not generating enough player value to be worth their manufacturing and teaching cost?
A component should survive because it does work.
Not because it looked nice in the mockup.
Not because it was already designed.
Not because removing it feels like losing progress.
Not because the designer is emotionally attached to a clever subsystem.
Before adding new parts, remove the weak ones.
A cleaner prototype is not only cheaper. It is easier to test, easier to revise, and easier for a manufacturer to quote honestly.
Measure Rules Overhead Against Player Value
A useful question before printing is:
What does this rule cost the player every time it appears?
Not what it cost you to design.
Not how clever it looks.
What it costs the player.
Some mechanisms create real tension. They change choices. They create timing pressure, interaction, risk, or trade-offs. Those mechanisms deserve space.
Other mechanisms only create overhead.
A mechanism should be questioned if it adds:
And after all of that, it only changes the decision by a small amount.
That is a bad exchange.
I would not call this only “rules complexity.” The more useful term is rules overhead.
Rules overhead is the amount of remembering, checking, counting, moving, and correcting that the game asks from players before they get to the enjoyable decision.
Some overhead is necessary. A resource engine needs tracking. A campaign game needs state. A tactical game may need conditions. But when overhead rises faster than player value, the printed prototype becomes a warning sign.
A factory can print more tokens. That does not mean the game should have them.
If a rule needs a token, a reminder card, an icon, a rulebook exception, and repeated teaching support, the rule should be tested without those supports before it goes into a paid prototype.
If the game still works without it, it probably did not deserve a production slot.
Remove One Mechanic at a Time
Do not simplify a game by tearing it apart all at once.
That usually creates false conclusions.
If you remove three mechanics, reduce the card deck, change the board, and rewrite scoring in the same test, you may know the game feels different. You will not know which change fixed the problem.
A better approach is slower and less dramatic:
This is not only a playtesting method. It is also a manufacturing filter.
If removing one mechanic also removes a token type, a card subset, a board track, or half a page of rules, the savings may be larger than expected. Not just in unit cost, but in assembly, error risk, packing, and future localization.
Some removals will fail. That is useful too.
If the game collapses without a mechanic, that mechanic may be part of the core structure. Keep it. Improve it. Give it proper component support.
But if the game becomes faster, clearer, and easier to teach after the mechanic disappears, do not bring it back just because it was in the original vision.
The printed prototype should not become a museum of everything the design once contained.
When playtesters give feedback, separate pain points from suggested solutions.
A player may say, “Add a new card type,” or “Give each player another token.” That may be useful. It may also be a patch that creates the next manufacturing problem.
The better data is where the player hesitated, waited, forgot, repeated a question, or felt the action was not worth the effort.
Pain points are data.
Player solutions are only suggestions.
Cut Content Volume Before You Print the Full Game
When a prototype quote feels too high, many designers start cutting the wrong things.
They remove the board finish.
They choose a weaker box.
They reduce card stock.
They remove surface protection.
They make the prototype look worse, but leave the overloaded system untouched.
That is not always the best first cut.
Before cutting the core system, cut content volume.
The first paid printed prototype does not always need the complete product content. Maybe it doesn’t need 120 event cards, 16 characters, 80 map tiles, 40 quest cards and every stretch-goal idea in the campaign plan.
If you’re trying to test the structure, use enough content to stress the system, not enough content to simulate the final SKU.
A smaller content set can still answer real questions:
This is a better early factory sample than a full-content prototype that is too expensive to revise.
There is a boundary.
If a game depends on variety, asymmetry, campaign progression, or deck construction, you cannot cut content so hard that the system becomes fake. But most early printed prototypes do not need full retail content.
They need enough content to expose whether the structure deserves more content.
That is the manufacturing order I trust more:
Core system first.
Representative content second.
Full content later.
Merge Components Before Adding New Ones
One of the fastest ways to control board game prototype cost is to reduce component categories.
Not only component count.
Component categories.
Ten extra cards may be manageable. One new custom component type can be more troublesome than the cards.
A new token type needs counting, packing, sorting, replacement planning, and player explanation. A new punchboard sheet may change box height. A custom wooden piece may need separate sampling. A plastic part may force mold discussion if the project moves toward mass production.
So before adding a new component, ask whether an existing component can do the job.
This is not always better.
Do not merge components until the game becomes harder to read. Component merging has a limit.
But from a manufacturing side, fewer component categories usually mean fewer failure points.
Fewer things to count.
Fewer things to pack.
Fewer things to misplace.
Fewer things to quote separately.
A prototype with fewer component categories is also easier to revise. When the next playtest changes the economy, you are not stuck redesigning four token sheets, two decks, and a player board at the same time.
This is why “one more token type” is rarely just one more token type.
It is a new handling variable.
When Is the Game Ready for a Paid Printed Prototype?
A game is not ready for a paid printed prototype just because the designer is tired of paper cards.
That is not enough.
From a manufacturing point of view, a paid prototype makes sense when the physical version is now answering questions that rough playtest materials cannot answer.
Use this checklist before asking for a custom board game prototype quote:
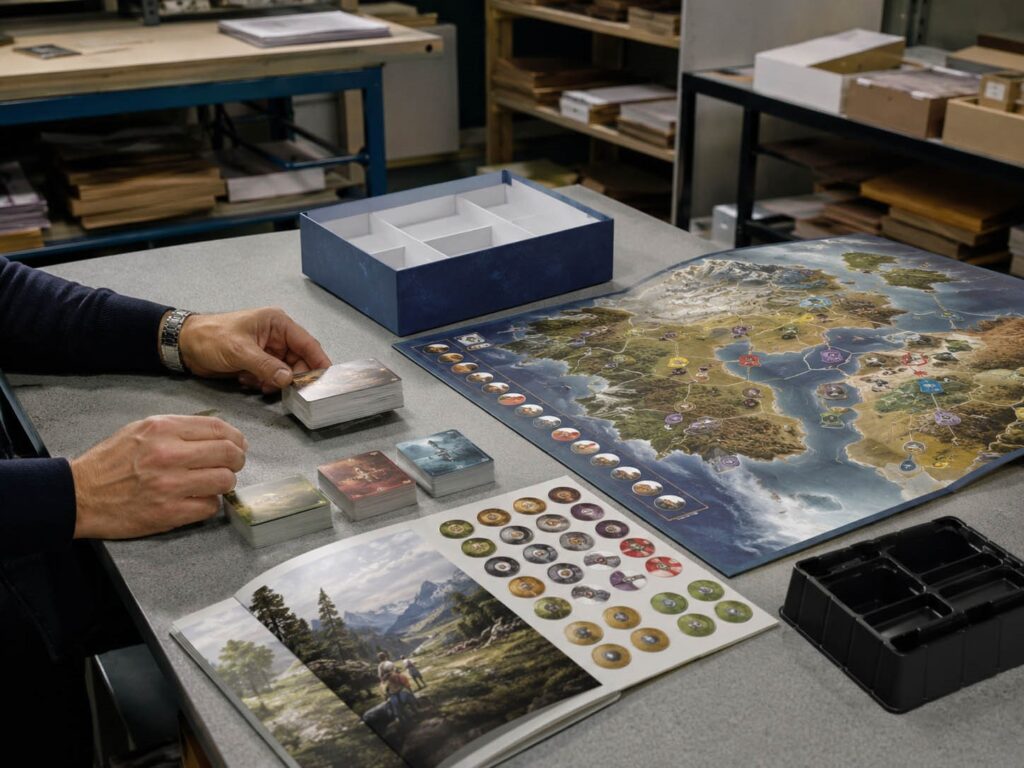
Once the prototype starts testing physical production feel, file setup and component structure become more important. We explain the common failure points in Prototype Printing Defects: Why Cards, Game Boards, and Punchboards Fail
That last point matters.
A single printed prototype, a 10-copy pitch batch, and a 100-copy preview batch are not the same production discussion. If the quantity is moving toward public use, reviewer copies, convention stock, or Kickstarter preview copies, the project may already be entering small-batch manufacturing logic.
We cover that cost side in Why 50, 100, or 200 Board Game Sets Cost So Much More Per Unit.
But before you get there, make sure the design deserves to be printed at all.
One Warning Before You Pay for the First Printed Prototype
A good printed prototype should test production feel, table presence, component handling, and packaging direction.
It should not be the first tool used to discover that the game is too large, too slow, too confusing, or too expensive to build.
Do not pay a factory to print your uncertainty. Use the first paid prototype when the design is ready to test physical reality, not when the design still needs basic rescue.
If your game still changes every week, stay with rough materials. If the core loop is not stable, cut the system down. If it is perpetually forgotten by players, remove it or re-design it. If each test adds to the component list, stop adding, start subtracting.
This article is not a good fit for games that are built from the ground up to be content-heavy. That is, large campaign games, legacy systems or collectible style products. But those projects still have to be subtracted but the cost model is different. We won’t lie, a 30-minute card game and a 90-hour campaign product don’t have to take the same prototype path.
For most independent creators, the warning is simpler:
Do not pay a factory to print your uncertainty.
Use the first paid prototype when the design is ready to test physical reality, not when the design still needs basic rescue.
If you are close to that stage, send us your component list, rough sizes, target quantity, and the purpose of the sample. We can help you decide whether the project should stay in rough playtest form, move into a factory digital sample, or be simplified before a paid printed prototype is worth the cost.
Read the Full 2026 Prototype Problem Series
This article is part of our series: Board Game Prototyping Problems Creators Face in 2026.
The series covers the main problems independent creators meet before mass production: